https://www.townhillstudio.co.uk/create-a-5-petal-shibori-flower/
https://youtu.be/1YPWYiEV8u4?si=WJi3C0S123mlvMs4
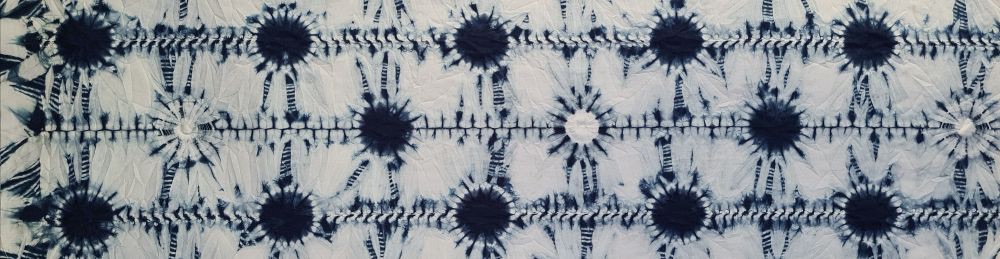
https://www.townhillstudio.co.uk/make-simple-maki-age-shibori-flower-petal-shapes/
letters https://www.townhillstudio.co.uk/dive-in-to-learn-how-to-create-words-with-shibori-stitch/

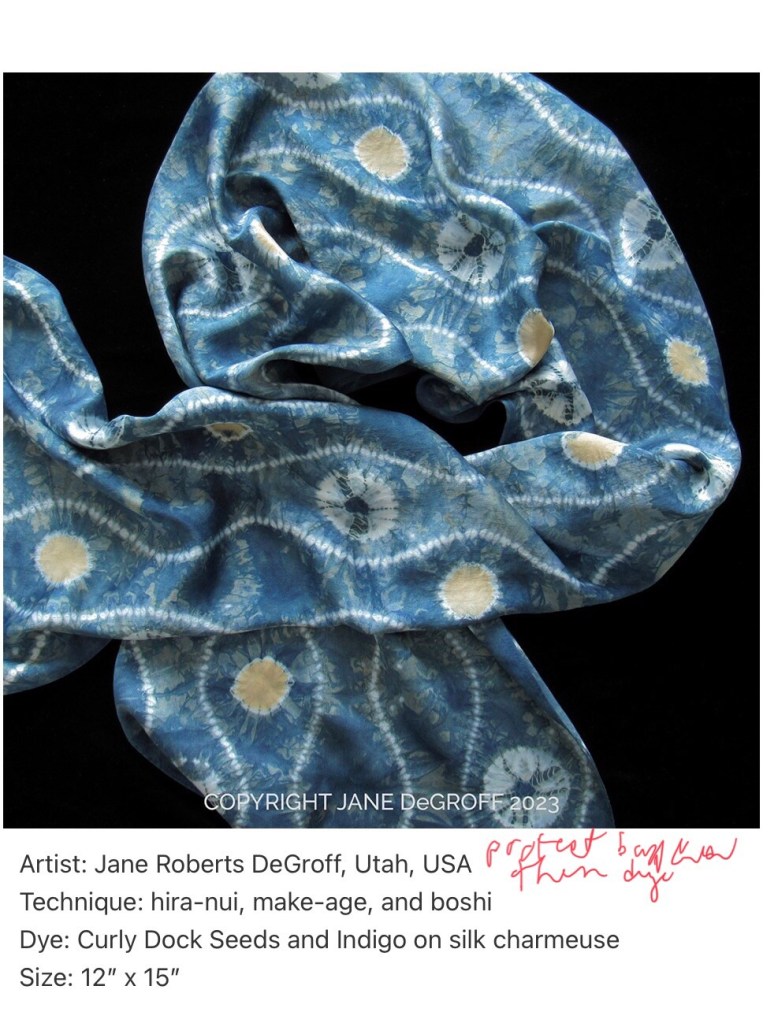
https://janecallender.com/wp-content/uploads/2019/01/fibre-forum-article-jane-callender.pdf
https://janecallender.com/wp-content/uploads/2019/01/1_SELVEDGE-TEXT.pdf
https://janecallender.com/wp-content/uploads/2021/05/Makers-Atelier-article.pdf
https://janecallender.com/shibori-stream-gallery/
https://janecallender.com/product-category/downloadable-shibori-pattern-plans/
https://janecallender.com/shibori-stencils/
https://janecallender.com/product-category/shibori-stitching-instructions/
https://janecallender.com/education/shibori-techniques/
https://janecallender.com/education/shibori-techniques/
https://www.townhillstudio.co.uk/how-to-upcycle-with-shibori/
Make A Super Shibori Goose In Guntai Shibori
Design, Inspiration, Techniques / By Annabel Wilson


Let me show you how to make a shibori goose. I love to use this little shibori goose design in my various textile landscape hangings. I thought I would share the pattern with you. You can download an outline for free, here.
The bird is sewn using guntai shibori stitch. Guntai shibori is a tight oversew stitch whereby the fabric is folded in on itself and makes a random pattern. The only drawback is it is a challenge to unpick once you have dyed it!! Therefore, care must be taken to not catch the fabric and make a hole. Indeed, my experience tells me that it is quite easy to do.
I have found that this stitch works best with indigo or Rit dyes. I do not get such a good clear shape when using fibre reactive or plant dyes like onion skins etc.
Let’s Start
The size of the shibori goose is 11cm / 4 ¼” beak to tail. You could make it a little bigger.
Firstly, draw the bird very clearly with fabric marker as shown, dividing the bird up into segments as indicated. These lines are your guidelines while stitching.
Secondly, thread the needle with a double thread and attach a small tag at the end to stop the thread pulling through. In addition, look at my blog full of helpful hints for sewing shibori.
Start the stitching at the beak and work the main body back to the tail. Take the needle diagonally behind the fabric to make each stitch. As you take it stitch the fabric rolls to the back of the piece.
Most importantly pull the thread tight with each stitch. Moreover, make sure you don’t catch the fabric with the needle at the back of the fabric, as you roll it.
You may well have to start a new thread halfway along. This will involve attaching another tag and taking the needle in where the last stitch finished.
Continue to the end of the tail and tie another tag in to secure it.
Similarly sew the wings, starting close to the body and working outwards towards the tips. It is challenging making the first stitches close to the body stitching as there is a lot of fabric to gather in.
The final piece of fabric completed and ready for dyeing looks like this shown below.
The easiest way to unpick all this very tight stitching after dyeing is with a stitch unpicker / seam ripper. And another useful tip is to unpick on the reverse, it is just a bit easier.
After creating this shibori goose you may like to try your hand at a swallow, stitched in a similar way. Here is the link.
Happy
https://www.townhillstudio.co.uk/stitch-a-miru-shibori-flower/

